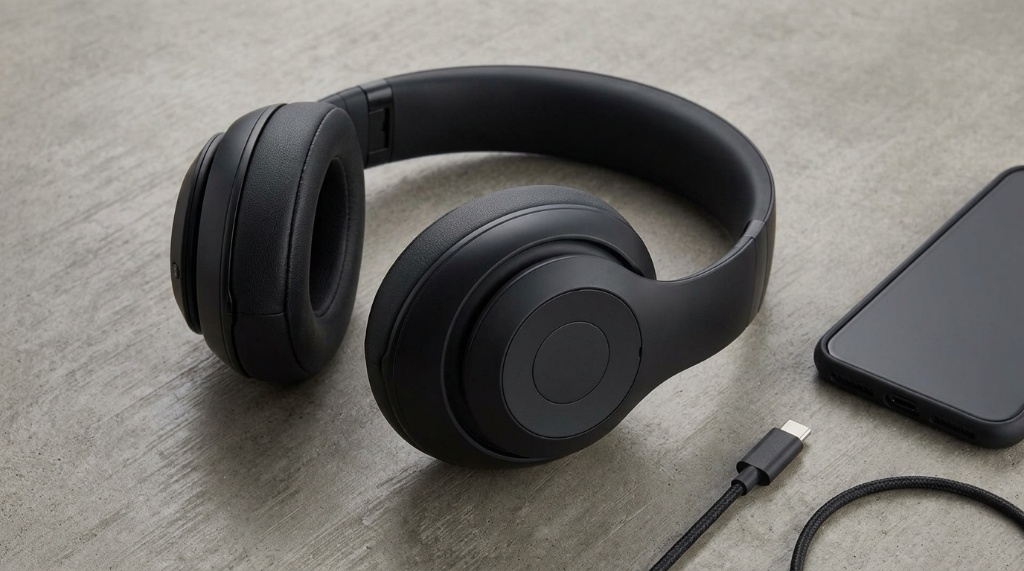
Most Beats Studio Pro Headphones problems, including pairing failures, one-sided audio, and charging glitches, clear up with a factory reset, a firmware update, or a fresh Bluetooth connection. Start by resetting the headphones, then re-pair them, and update the firmware if the issue persists. Owners searching for reliable fixes often compare notes on Beats Studio Pro Headphones before deciding whether to repair or replace them. Below, you will find a practical troubleshooting path that covers the most common complaints in order of likelihood.
Reset the Beats Studio Pro by holding the power button for 10 seconds until the LED flashes red and white. Then forget the device in your Bluetooth settings and pair again. If audio, charging, or noise cancellation still fails, update the firmware through the Beats app and try a different cable or charger. Most issues resolve within these three steps.
Key Takeaways
- A 10-second power button hold performs a factory reset that fixes most pairing and audio glitches.
- Firmware updates often repair bugs that cause one-sided audio or random disconnects.
- Charging problems usually trace back to the cable, the adapter, or a dirty USB-C port.
- Noise cancellation and transparency glitches often clear after a reset and re-pair.
- If hardware damage is the cause, no reset will help and service may be required.
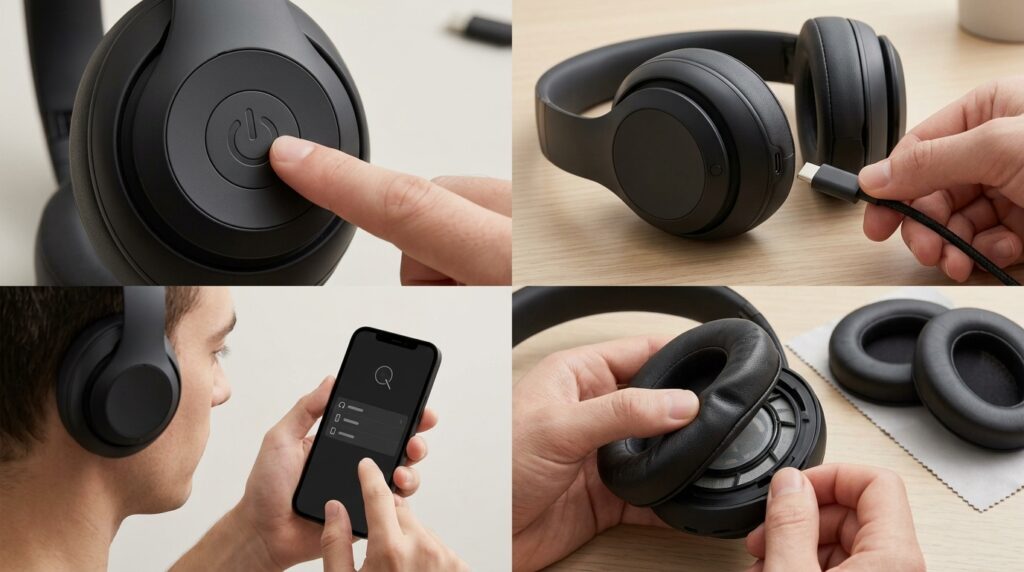
Start With a Factory Reset
The factory reset is the single most effective fix for Beats Studio Pro issues. It clears stored pairing data and returns the headphones to their original state. Consequently, it resolves most connectivity and audio routing problems.
To reset, press and hold the power button for about 10 seconds. Release it when the LED indicator flashes red and white. After that, the headphones power down automatically. Now you can pair them again as if they were new.
Keep in mind that a reset erases your saved devices. Therefore, you will need to reconnect your phone, laptop, or tablet one at a time. This step alone fixes many complaints about one-sided sound and failed connections.
Fix Bluetooth Pairing and Connection Drops
Bluetooth issues are the most reported complaint among Beats Studio Pro users. Usually, the cause is a stale pairing record rather than a hardware fault. Clearing that record and starting fresh solves the problem in most cases.
Re-Pair the Headphones Properly
First, open your device’s Bluetooth settings and forget the Beats Studio Pro. Then turn the headphones off and back on. Next, hold the power button for five seconds until the LED pulses. Finally, select the headphones from your device’s Bluetooth list.
If your device still refuses to connect, restart the phone or computer. Restarting clears background Bluetooth services that can block new connections. Also, make sure no other device is already connected to the headphones.
Reduce Interference and Distance
Bluetooth signals weaken near Wi-Fi routers, microwaves, and USB 3.0 hubs. Therefore, move away from those sources when audio stutters. Keep the headphones within about 30 feet of the source device for stable playback.
Additionally, walls and metal objects block Bluetooth range. If drops happen in one room only, interference is the likely cause. In that case, repositioning your device often solves the issue without any reset.
Solve Charging and Power Problems
Charging problems with the Beats Studio Pro usually come from the cable, adapter, or port. The headphones use USB-C, so a damaged or low-quality cable can prevent charging entirely. Testing each part separately narrows the cause quickly.
Check the Cable and Adapter
Try a different USB-C cable that you know works with other devices. Then plug into a different wall adapter or a powered USB port. If the LED lights up, the original cable or adapter was faulty.
Avoid using very cheap cables that only support low power delivery. They may fit the port but fail to deliver enough current. Consequently, the headphones appear dead even when connected.
Clean the USB-C Port
Lint and dust collect inside the USB-C port over time. This buildup blocks contact and stops charging. Use a dry toothpick or a soft brush to gently clear debris.
Never use metal tools or liquids inside the port. They can damage the internal pins. If cleaning does not help and other cables fail, the port itself may need service.
Fix Audio and Sound Quality Issues
Audio problems range from crackling to complete silence in one ear cup. Many of these issues stem from software, not hardware. Therefore, troubleshooting software first saves time and money.
One Ear Cup Not Working
First, confirm the balance setting on your phone or computer is centered. An off-center balance slider silences one side. Next, test the headphones with a second device to isolate the problem.
If the issue follows the headphones across devices, perform a factory reset. If it persists after a reset, the driver or internal wiring may be damaged. In that case, contact Beats support for repair options.
Crackling, Static, or Distortion
Static usually points to interference or a low Bluetooth codec. Move closer to your device and away from routers. Also, disable any audio enhancements or equalizers on your phone.
Low battery can also cause distortion. Charge the headphones fully before testing again. If distortion continues at full charge across multiple devices, a firmware update may help.
Update the Firmware
Firmware updates fix bugs that cause disconnects, audio glitches, and battery reporting errors. Beats releases updates through the Beats app on Android and through iOS settings on Apple devices. Updating is free and takes only a few minutes.
On Android, open the Beats app and connect the headphones. The app will prompt you when an update is available. On iOS, connect the headphones and check for updates in the Bluetooth settings or the Beats app.
Keep the headphones near your phone during the update. Also, make sure both devices have enough battery. Interrupting an update can leave the firmware in a broken state, which requires a service visit to fix.
Fix Noise Cancellation and Transparency Mode
ANC and transparency problems often appear after a firmware glitch or a failed pairing. A reset typically restores both modes. If not, the issue may relate to fit or ear cushion seals.
ANC Not Working
First, cycle through the listening modes using the power button. Then confirm ANC is actually active in the Beats app or your device settings. Sometimes the mode switches without a clear indicator.
Next, check the ear cushions for wear or gaps. A poor seal reduces noise cancellation noticeably. If cushions are worn, replacing them restores performance.
Transparency Mode Sounds Muffled
Clean the microphone openings on both ear cups. Dust and earwax block the mics and degrade transparency audio. Use a dry soft brush and avoid pressing hard on the mesh.
If cleaning does not help, reset the headphones and re-pair. Persistent muffled transparency after these steps suggests a microphone fault that needs service.
Fix Microphone and Call Quality Issues
Call quality problems usually involve the microphone array or the connected device. Start by testing a call on a different app or phone. This step tells you whether the issue is app-specific or hardware-related.
Next, check that no app is holding exclusive microphone access. On computers, review the privacy settings for microphone permissions. Also, ensure the headphones are selected as the input device, not the built-in mic.
If callers still report muffled or robotic audio, reset the headphones. Then test again. A firmware update can also fix known microphone bugs.
When to Seek Repair or Replacement
Not every problem is fixable at home. Physical damage, water exposure, and dead drivers require professional service. Similarly, a swollen battery is a safety issue that needs immediate attention.
- Persistent one-sided audio after a reset and re-pair
- Charging failure after testing multiple cables and adapters
- Visible damage to the hinges, headband, or ear cups
- Battery swelling, overheating, or unusual smells
- Firmware that will not update after several attempts
If your headphones fall under warranty, contact Beats or Apple support first. Repairs outside warranty may cost close to a replacement. Therefore, compare repair quotes against the price of a new pair before deciding.
Frequently Asked Questions
How do I reset my Beats Studio Pro headphones?
Press and hold the power button for about 10 seconds until the LED flashes red and white, then release and re-pair the headphones.
Why is only one side of my Beats Studio Pro working?
Check your device’s audio balance first, then perform a factory reset and re-pair, since the issue is usually software-related.
Why won’t my Beats Studio Pro charge?
Test a different USB-C cable and adapter, clean the charging port, and confirm the LED lights up when connected.
How do I update the firmware on Beats Studio Pro?
Connect the headphones to the Beats app on Android or check Bluetooth settings on iOS, then follow the on-screen update prompt.
Can I fix noise cancellation that stopped working?
Cycle through listening modes, reset the headphones, and inspect the ear cushions, since a poor seal reduces ANC performance.
Conclusion
Most Beats Studio Pro Headphones issues come down to three fixes: a factory reset, a clean re-pair, and a firmware update. Start there before assuming the hardware has failed. If problems persist after these steps, test with another device and consider service. Your next step is simple: reset the headphones now, re-pair them, and update the firmware. That sequence solves the majority of complaints in minutes.