
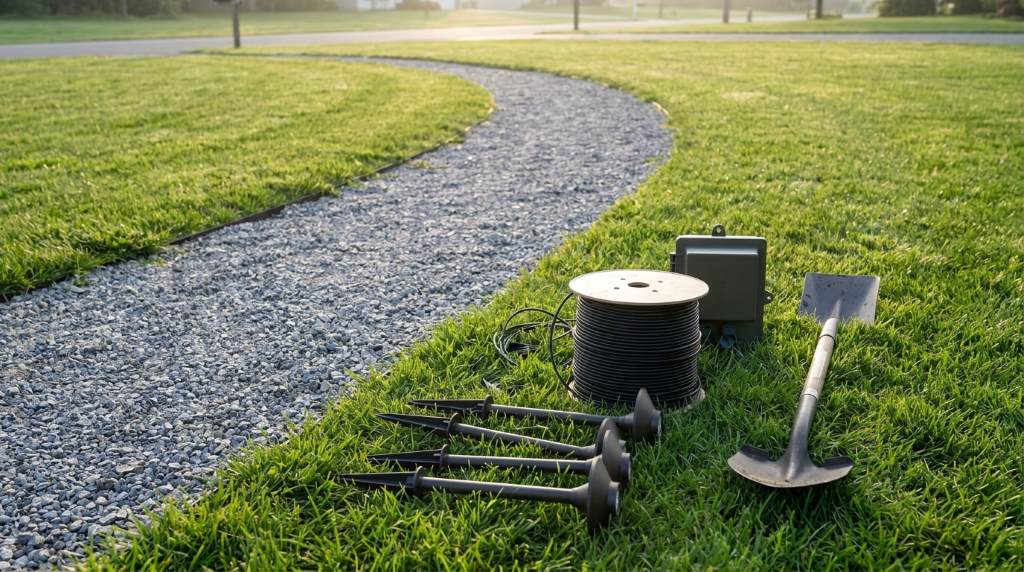
Installing outdoor pathway lights starts with planning the layout, selecting the right lighting type, and placing fixtures at even intervals. Next, connect the system correctly, test every light, and secure all components for safe, reliable performance.
Outdoor lighting improves safety, boosts curb appeal, and increases nighttime visibility around your property. According to the U.S. Department of Energy, LED lighting uses at least 75% less energy than traditional incandescent lighting while lasting up to 25 times longer. Additionally, well-planned landscape lighting can increase perceived property value and improve outdoor usability after sunset. Many homeowners also explore outdoor Christmas pathway lights for seasonal decorating, although permanent pathway lighting remains the best long-term solution for everyday safety and appearance.
Why Install Outdoor Pathway Lights?
Pathway lights help visitors walk safely after dark while clearly defining sidewalks and garden paths. They also create an inviting outdoor atmosphere throughout the year.
Proper lighting reduces trip hazards and highlights landscaping features without overwhelming the surrounding area. Furthermore, consistent lighting improves nighttime visibility around entrances and walkways.

Choose the Right Type of Pathway Lights
Different lighting systems suit different properties and installation preferences. Therefore, compare available options before buying your fixtures.
Solar Pathway Lights
Solar lights install quickly because they require no electrical wiring. They also work best in locations receiving several hours of direct sunlight daily.
Low Voltage Pathway Lights
Low voltage systems deliver consistent brightness using a transformer and underground cable. Most homeowners prefer this option because it balances safety, efficiency, and performance.
Line Voltage Pathway Lights
Line voltage fixtures provide strong illumination for larger landscapes and commercial properties. However, licensed electrical installation often becomes necessary for this system.
Gather the Necessary Tools and Materials
Preparing everything before installation saves time and prevents unnecessary interruptions. Consequently, organize every tool before beginning the project.
- Pathway light fixtures
- Transformer for low voltage systems
- Low voltage landscape cable
- Cable connectors
- Shovel or trenching tool
- Tape measure
- Wire stripper
- Rubber mallet
- Garden stakes
- Electrical tester
- Outdoor rated extension cord if required
Plan Your Lighting Layout
A thoughtful layout creates balanced lighting without producing excessive brightness. Meanwhile, careful spacing improves both appearance and functionality.
Measure the Walkway
Measure the total pathway length before marking fixture positions. This simple step prevents uneven spacing during installation.
Determine Fixture Spacing
Place most pathway lights about six to eight feet apart for balanced illumination. Adjust spacing slightly around curves, corners, and garden features.
Avoid Straight Line Placement
Offset fixtures slightly from each other instead of creating a perfectly straight line. As a result, the lighting appears softer and more natural.
How to Install Low Voltage Outdoor Pathway Lights
Step 1: Install the Transformer
Mount the transformer near a weather protected outdoor electrical outlet. Then connect it according to the manufacturer’s instructions before attaching any fixtures.
Step 2: Lay the Landscape Cable
Run the cable along the planned pathway route before burying it. Leave enough extra cable near each fixture for comfortable connections.
Step 3: Position Each Fixture
Insert every stake firmly into the ground using gentle pressure or a rubber mallet. Keep each fixture standing straight for a professional appearance.
Step 4: Connect the Fixtures
Attach every fixture using compatible waterproof connectors supplied with the lighting kit. Afterward, double check every connection before powering the system.
Step 5: Test the Lights
Switch on the transformer and inspect every light carefully. Replace loose connectors immediately if any fixture fails to illuminate.
Step 6: Bury the Cable
Bury the landscape cable about six inches below the soil surface. This depth protects the wiring while allowing future maintenance if necessary.
How to Install Solar Pathway Lights
Solar pathway lights require much less installation effort than wired systems. Nevertheless, proper placement remains important for reliable operation.
- Charge every light fully before installation.
- Select locations receiving direct sunlight daily.
- Insert each stake securely into level ground.
- Turn every light on before leaving the area.
- Test nighttime brightness after sunset.
Common Installation Mistakes to Avoid
Small mistakes often reduce lighting performance and shorten equipment life. Therefore, review these issues before completing your installation.
- Installing fixtures too close together
- Using undersized transformers
- Ignoring cable protection
- Placing solar lights under trees
- Leaving loose electrical connections
- Skipping final system testing
Maintenance Tips for Long Lasting Performance
Routine maintenance keeps pathway lights bright and dependable throughout every season. Fortunately, most tasks require only a few minutes.
- Clean fixture lenses regularly.
- Trim plants blocking the light.
- Inspect wiring every few months.
- Replace damaged connectors immediately.
- Check transformer settings seasonally.
- Recharge or replace solar batteries when necessary.
When Should You Replace Outdoor Pathway Lights?
Replace fixtures when corrosion, cracked housings, or repeated electrical failures affect performance. Likewise, outdated lights may consume more energy than modern LED alternatives.
Many homeowners also upgrade fixtures during landscaping improvements for a more consistent design. New lighting often provides better brightness, durability, and energy efficiency.
Final Thoughts
Learning how to install outdoor pathway lights becomes much easier with careful planning and proper tools. Following each installation step helps create safer walkways and attractive outdoor spaces.
Start your project today by selecting quality fixtures, planning the layout carefully, and maintaining the system regularly. A well installed lighting system delivers dependable performance and lasting curb appeal.
Frequently Asked Questions
How far apart should outdoor pathway lights be?
Place most pathway lights about six to eight feet apart for balanced illumination.
Can I install pathway lights without professional help?
Yes, most solar and low voltage systems are suitable for homeowner installation.
How deep should landscape lighting cable be buried?
Bury low voltage cable about six inches below the soil surface.
Are solar pathway lights reliable?
Yes, quality solar lights perform well when they receive enough daily sunlight.
Which pathway lights last the longest?
LED pathway lights typically provide the longest lifespan with minimal maintenance.