
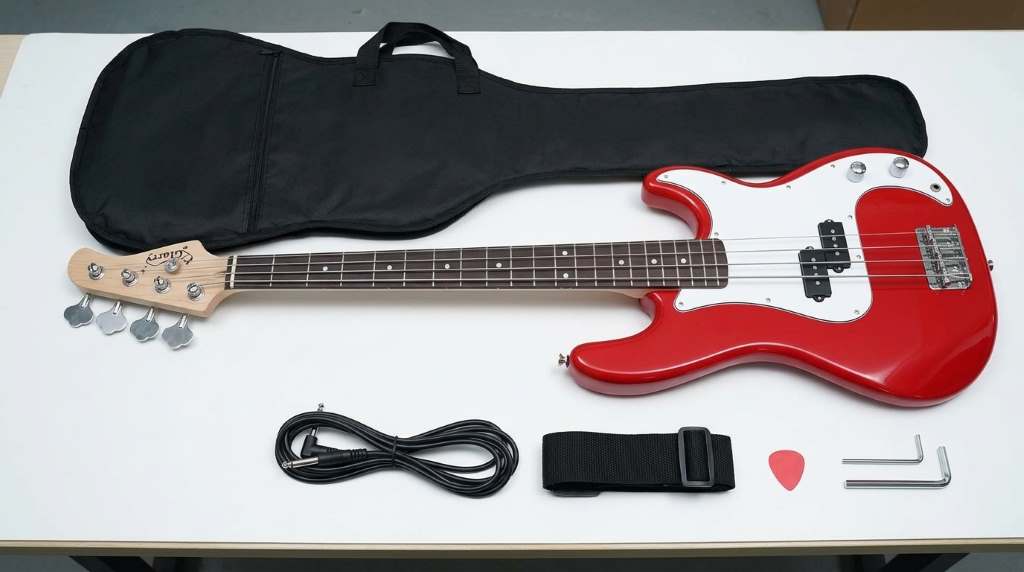
To set up a Glarry electric bass guitar, adjust the neck relief, set the string action, check intonation, and tune the instrument correctly. A proper setup improves comfort, tone quality, and playing accuracy. With a few basic tools and careful adjustments, most players can achieve excellent results at home.
Many entry level bass guitars benefit from a setup before regular use. Studies show that proper instrument maintenance improves playability and reduces tuning issues significantly. If you recently purchased a Glarry electric bass guitar, a complete setup helps unlock its full potential.
Why Proper Bass Guitar Setup Matters
A bass guitar performs best when every component works together correctly. Small adjustments often create noticeable improvements in sound and comfort.
Furthermore, proper setup reduces fret buzz and improves tuning stability. It also helps beginners develop better playing habits from the start.
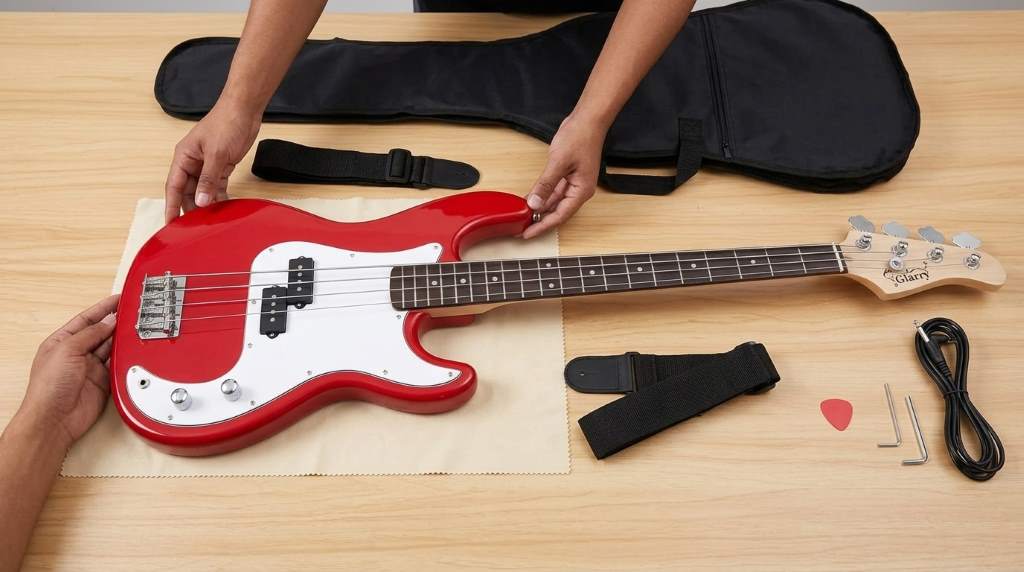
Tools You Need Before Starting
Gathering the right tools makes the process easier and safer. Most setup tasks require only basic equipment.
- Electronic tuner
- Hex keys or Allen wrenches
- Small ruler with millimeter markings
- Screwdriver set
- Capo
- String winder
- Microfiber cloth
Keep all tools nearby before beginning adjustments. This preparation prevents interruptions during the setup process.
Inspect the Bass Before Making Adjustments
Start with a complete visual inspection of the instrument. Look for loose hardware, damaged strings, or shipping issues.
Next, check the bridge, tuners, neck, and pickups carefully. Identifying problems early prevents unnecessary adjustments later.
Tune the Bass Correctly First
Always tune the bass before evaluating setup measurements. String tension directly affects neck position and action height.
Most four string Glarry bass guitars use standard tuning. The correct notes are E, A, D, and G from lowest to highest.
Adjusting Neck Relief
Understanding Neck Relief
Neck relief refers to the slight forward curve in the neck. This curve allows strings to vibrate without excessive fret buzz.
Too much relief creates high action and difficult playability. Too little relief often causes buzzing across multiple frets.
How to Measure Relief
Place a capo on the first fret before measuring. Then hold the lowest string at the last fret.
Check the gap around the eighth fret using a ruler. A small gap usually provides balanced performance.
Adjusting the Truss Rod
Locate the truss rod adjustment point on the bass. Turn slowly and make very small adjustments each time.
Turn clockwise to reduce relief and straighten the neck. Conversely, turn counterclockwise to increase neck relief.
Setting the String Action
String action refers to the distance between strings and frets. Comfortable action improves speed and reduces finger fatigue.
After adjusting neck relief, measure action at the twelfth fret. Use a ruler for consistent and accurate readings.
Lowering the Action
Adjust the bridge saddles using the correct Allen wrench. Lower each saddle gradually while monitoring fret buzz.
Test every fret after each adjustment. This method helps maintain balance across the entire fingerboard.
Raising the Action
If buzzing persists, raise the saddles slightly. Higher action provides additional clearance for string vibration.
However, avoid excessive height because it increases playing effort. The goal is comfort with clean note production.
Setting Intonation for Accurate Notes
Intonation ensures notes remain in tune across the fingerboard. Even perfectly tuned open strings require proper intonation.
Without correct intonation, higher frets may sound sharp or flat. Therefore, this step remains essential.
Checking Intonation
Tune the open string carefully before testing. Then compare the twelfth fret harmonic and fretted note.
If both notes match, the intonation is correct. Otherwise, bridge saddle adjustments are necessary.
Making Intonation Adjustments
Move the saddle backward if the fretted note sounds sharp. Move it forward if the fretted note sounds flat.
Retune after every adjustment and test again. Patience produces the most accurate results.
Pickup Height Adjustment
Pickup height affects output level and tonal balance. Proper spacing improves clarity and string response.
Hold the string at the highest fret while measuring. Then compare the distance between string and pickup.
Raise pickups for stronger output and presence. Alternatively, lower them for improved clarity and dynamics.
Checking Hardware Stability
Loose hardware can create unwanted vibrations and tuning issues. Therefore, inspect all screws and fittings carefully.
Check strap buttons, tuner screws, bridge components, and control knobs. Tighten only enough to secure each part.
Cleaning the Fingerboard and Strings
A clean instrument performs more consistently over time. Dirt buildup affects both feel and tone quality.
Wipe strings after every practice session. Additionally, clean the fingerboard whenever changing strings.
Testing the Final Setup
Play scales and simple bass lines across the neck. Listen carefully for buzzing, dead spots, or tuning problems.
Next, test different playing styles and dynamics. A well adjusted bass should respond evenly everywhere.
Common Setup Mistakes to Avoid
- Making large truss rod adjustments at once
- Skipping tuning before measurements
- Ignoring intonation adjustments
- Using incorrect tools
- Lowering action excessively
- Forcing adjustment screws
Avoiding these mistakes protects the instrument from damage. It also leads to more reliable setup results.
When to Replace the Strings
Old strings lose brightness and tuning stability over time. Replacing them often improves overall performance immediately.
Many players install fresh strings before completing a setup. This approach provides more accurate measurements and tone.
Maintaining Your Setup
Temperature and humidity changes affect neck movement naturally. Therefore, periodic setup checks remain important.
Inspect relief, action, and tuning every few months. Regular maintenance keeps the bass playing consistently.
Conclusion
Setting up a Glarry electric bass guitar requires careful adjustments and attention to detail. However, the process remains manageable for most players with basic tools.
Take your time, make small changes, and test frequently. Start your setup today and enjoy better tone, comfort, and performance from every practice session.
Frequently Asked Questions
How often should I set up my Glarry bass?
Check and adjust the setup every few months or after major weather changes.
Can beginners perform a bass setup at home?
Yes, beginners can handle basic setup tasks with patience and proper tools.
What causes fret buzz on a bass guitar?
Improper neck relief, low action, or uneven frets commonly cause fret buzz.
Should I change strings before setting up the bass?
Yes, new strings provide more accurate setup measurements and consistent tone.
Does pickup height affect bass sound quality?
Yes, pickup height directly influences output level, clarity, and tonal balance.


