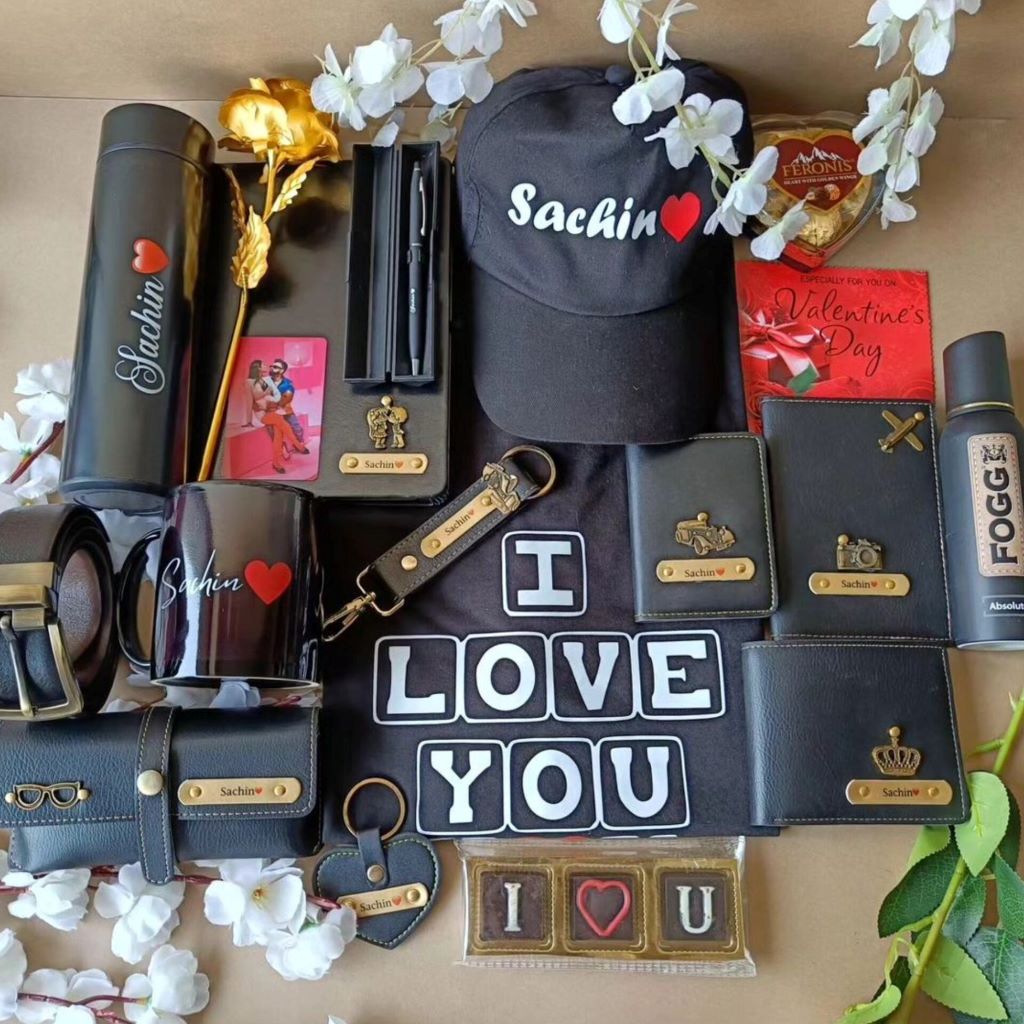
3D printing has revolutionized the way we create personalized gifts, allowing anyone to design and manufacture unique, tailor-made items from the comfort of their home. Whether you’re crafting a one-of-a-kind keepsake, a functional gadget, or a decorative piece, 3D printing offers limitless possibilities. In this guide, we’ll explore how to create a 3D-printed customizable gift from start to finish, covering everything from choosing the right printer to designing and finishing your product.
Why Choose 3D Printing for Custom Gifts?
3D printing enables the creation of highly customized gifts that can be tailored to the recipient’s preferences. Unlike traditional manufacturing, which often requires mass production, 3D printing allows for the creation of unique, one-off designs without excessive costs. Additionally, the ability to personalize colors, materials, and designs ensures a thoughtful and meaningful gift-giving experience.
Step 1: Choose the Right 3D Printer
Types of 3D Printers
Before diving into your gift-making project, selecting the right 3D printer is crucial. The three most common types of 3D printers are:
- FDM (Fused Deposition Modeling) – Best for beginners and affordable options.
- SLA (Stereolithography) – Offers high-detail printing with resin-based materials.
- SLS (Selective Laser Sintering) – Used for professional-grade, durable prints.
Factors to Consider
When choosing a 3D printer, consider factors like resolution, printing speed, build volume, and filament compatibility. If you are creating small, intricate gifts, an SLA printer might be ideal, while FDM printers are better suited for larger, less complex designs.
Step 2: Selecting Materials for Your Gift
The choice of material will significantly impact the look, feel, and durability of your 3D-printed gift. Some common materials include:
- PLA (Polylactic Acid) – Biodegradable and easy to print; best for decorative items.
- ABS (Acrylonitrile Butadiene Styrene) – Strong and impact-resistant; good for functional gifts.
- Resin – Produces smooth, highly detailed prints; ideal for jewelry and figurines.
- TPU (Thermoplastic Polyurethane) – Flexible and durable; great for wearable gifts.
Step 3: Designing Your Custom Gift
Using 3D Modeling Software
To create a truly unique gift, you’ll need to design your model using 3D modeling software. Some beginner-friendly options include:
- Tinkercad – Great for beginners with a simple drag-and-drop interface.
- Fusion 360 – More advanced, offering parametric design capabilities.
- Blender – Ideal for artistic and organic designs.
Customizing the Design
Personalization is key when making a gift special. You can add:
- Names or initials – Emboss or engrave a name onto the model.
- Custom shapes – Tailor the shape to fit a hobby or interest.
- Interchangeable parts – Create modular designs for added functionality.
Step 4: Slicing and Preparing for Printing
Before printing, the 3D model needs to be processed through slicing software. Some popular options include:
- Ultimaker Cura – A free and user-friendly option for FDM printers.
- PrusaSlicer – Optimized for Prusa 3D printers but usable with others.
- Lychee Slicer – Best for resin-based SLA printers.
Adjust settings such as layer height, print speed, and infill density to optimize quality and print time. For gifts with fine details, lower layer heights will yield better results.
Step 5: Printing Your Custom Gift
After preparing the file, load it onto your printer and begin the printing process. Ensure proper bed adhesion by using a heated bed or adhesives like glue sticks or painter’s tape. Monitor the first few layers to avoid any printing errors.
Step 6: Post-Processing and Finishing Touches
Once printing is complete, post-processing enhances the final product’s appearance and durability. Common techniques include:
- Sanding – Smooths rough surfaces for a polished look.
- Painting – Adds color and detail using acrylic paints.
- Varnishing – Seals the surface for durability and shine.
- Assembly – If your gift has multiple parts, use adhesives or screws to assemble.
Step 7: Packaging and Presentation
A beautifully presented gift enhances its perceived value. Consider placing your 3D-printed item in a custom box, wrapping it in decorative paper, or including a personalized note to make it extra special.
FAQs
-
Do I need an expensive 3D printer to create custom gifts?
No, many affordable 3D printers can produce high-quality gifts. The choice depends on your budget and the level of detail required.
-
How long does it take to 3D print a gift?
Print times vary based on size, complexity, and printer speed. Small items may take a few hours, while larger projects could take over a day.
-
Can I sell 3D-printed gifts?
Yes, many entrepreneurs create and sell 3D-printed gifts on platforms like Etsy and Amazon Handmade. Ensure your designs are unique or properly licensed.
-
What software is best for beginners?
Tinkercad is an excellent starting point due to its simplicity, while Fusion 360 is great for more complex designs.
-
How can I make my 3D-printed gifts look more professional?
Investing in post-processing techniques like sanding, painting, and clear-coating can significantly enhance the final product’s appearance.
-
What if my print fails?
Common issues like poor adhesion or warping can be solved by adjusting print settings, using a heated bed, or changing filament types.
-
Can I print multi-color gifts?
Yes, some printers allow multi-color printing, or you can paint your finished print for a colorful effect.
Conclusion
Creating a 3D-printed customizable gift is a rewarding process that allows for complete personalization and creativity. With the right printer, materials, design software, and finishing techniques, you can craft unique gifts that leave a lasting impression. Whether for a birthday, anniversary, or special occasion, a custom 3D-printed gift is a thoughtful way to show someone you care.
Read More: