
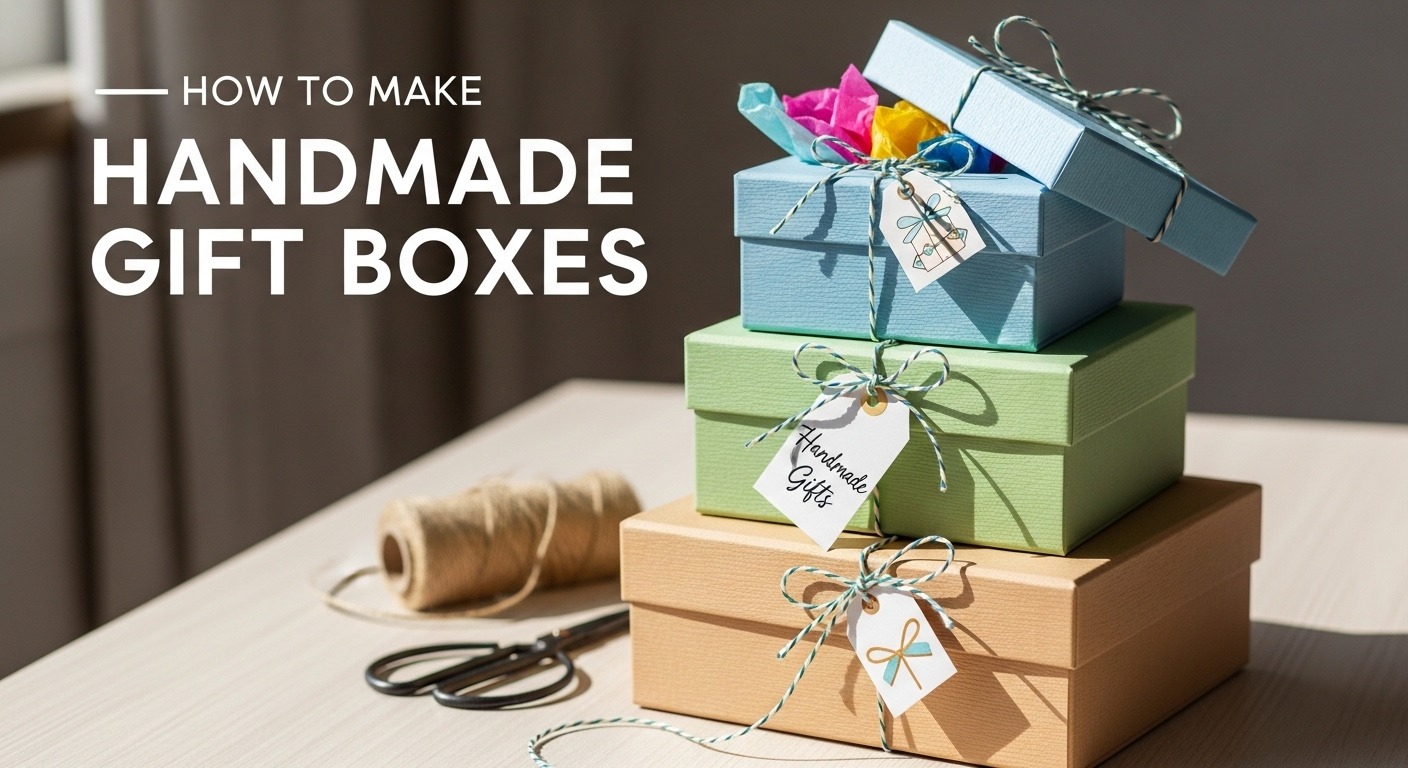
Handmade gift boxes turn ordinary presents into unforgettable experiences. People cherish personalized packaging far more than store-bought options. In fact, a 2024 study by the Craft & Hobby Association revealed that 78% of recipients keep handmade packaging longer than commercial boxes. Another report from the National Retail Federation showed that 65% of consumers feel more emotionally connected to gifts wrapped by hand.
You do not need advanced skills to create professional-looking results. With basic materials and clear guidance, anyone can craft elegant, custom gift boxes at home. This comprehensive tutorial walks you through every stage, from choosing materials to adding final decorative touches.
Why Choose Handmade Gift Boxes Over Ready-Made Ones
Handmade boxes offer complete creative control. You decide the exact size, shape, color scheme, and theme. Moreover, they cost significantly less while looking far more luxurious.
Recipients instantly recognize the time and love invested. Such thoughtful details strengthen relationships and create lasting memories. Additionally, DIY packaging supports sustainability by reusing materials you already own.
Essential Materials and Tools You Need
Gather supplies before starting your project. Most items remain affordable and readily available at craft stores or online.
- Cardstock or heavyweight paper (220–300 gsm works best)
- Patterned scrapbook paper for lining or decoration
- Ruler, bone folder, and cutting mat
- Double-sided tape or strong craft glue
- Scissors and craft knife
- Ribbon, twine, or washi tape
- Embellishments like dried flowers, tags, or stickers
- Pencil and eraser for marking
Pro tip: Keep a small trash bin nearby. Clean workspaces help you maintain precision throughout the process.
Choosing the Perfect Box Style for Your Gift
Different occasions call for different designs. Consider the gift size and event theme first.
Popular styles include:
- Classic lidded boxes for jewelry and small treasures
- Pillow boxes for lightweight items like scarves
- Origami fold boxes that require no glue
- Explosion boxes for surprise photo reveals
- Drawer-style boxes for multiple compartments
Start simple if you are a beginner. Master one style completely before experimenting with complex variations.
Basic Techniques Every Crafter Must Know
Accurate measuring forms the foundation of perfect boxes. Always measure twice and cut once.
Scoring creates crisp folds. Drag your bone folder firmly along ruler lines without cutting through the paper. This step prevents cracking and ensures professional edges.
Cutting straight lines matters immensely. Use sharp blades and change them regularly for clean results.
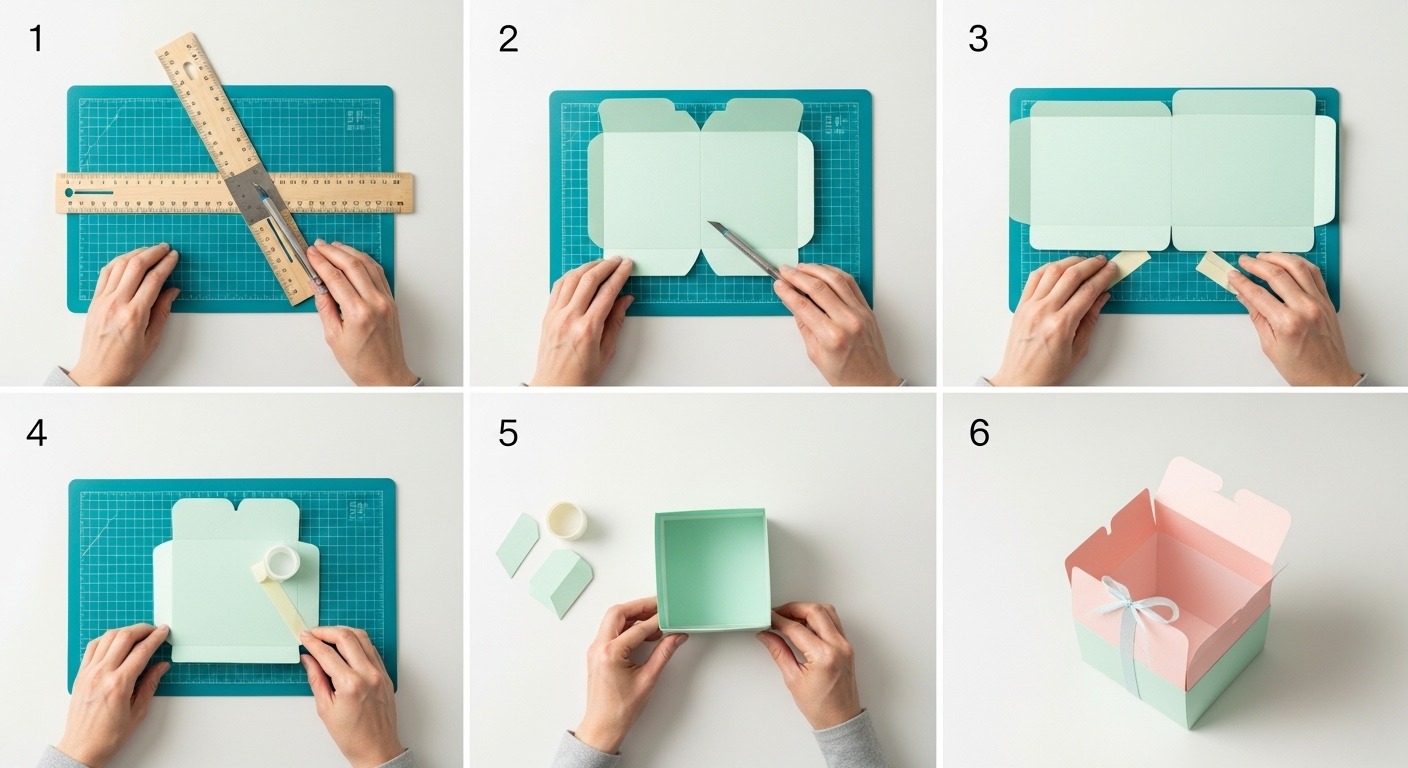
How to Make a Simple Lidded Gift Box (Step-by-Step)
Follow these instructions to create a sturdy 4×4×2 inch lidded box.
- Cut two pieces of cardstock: one 8.5×8.5 inches for the base, one 8.6×8.6 inches for the lid.
- Mark 2 inches from each edge on all sides of both squares.
- Draw light pencil lines connecting the marks to form smaller inner squares.
- Score along all marked lines using your bone folder and ruler.
- Cut along the four corner lines up to the scored intersection points.
- Fold all scored lines inward sharply.
- Apply double-sided tape to the corner flaps.
- Assemble the sides by pressing flaps firmly together.
- Repeat the entire process for the lid using slightly larger measurements.
- Decorate before final assembly for easier handling.
Your first handmade gift box now stands ready for embellishment.
Creating Beautiful Pillow Boxes Without Templates
Pillow boxes curve gracefully and require minimal materials.
- Start with a rectangle twice as long as needed.
- Round both short ends using a plate or compass as a guide.
- Score two parallel lines about 1 inch from each long edge.
- Fold the scored lines inward to create curved sides.
- Apply adhesive to one curved flap.
- Overlap and press the other flap securely.
- Push gently from both ends to create the signature pillow shape.
These boxes work wonderfully for candy, socks, or rolled certificates.
Making Origami Gift Boxes with a Single Sheet of Paper
Traditional origami boxes need no tape or glue.
- Begin with a perfect square of paper.
- Fold diagonally both ways, then horizontally and vertically.
- Collapse the paper into a smaller square following mountain and valley folds.
- Lift opposite corners and squash-fold to form sides.
- Fold top flaps downward to lock the structure.
- Repeat the process for the lid using a slightly larger square.
Practice on printer paper first. Once mastered, upgrade to decorative cardstock.
Advanced Designs: Explosion Boxes That Surprise
Explosion boxes unfold dramatically when the lid comes off.
Start with three or four nested boxes of decreasing size. Decorate inner layers with photos, messages, and small pockets. Add waterfalls, spinning elements, or pop-up features for extra wow factor.
Dedicate separate work sessions for each layer. Patience rewards you with breathtaking results.
Creative Ways to Decorate Your DIY Gift Boxes
Decoration transforms basic boxes into works of art.
Try these ideas:
- Layer contrasting papers for depth
- Add texture with embossing folders
- Stamp custom patterns using acrylic blocks
- Tie luxurious satin ribbons in multiple loops
- Attach handmade tags with calligraphy
- Incorporate pressed flowers under clear acrylic spray
- Use metallic markers for elegant accents
Mix textures thoughtfully. Combine matte cardstock with shiny foil elements for striking contrast.
Eco-Friendly Materials for Sustainable Gift Packaging
Choose environmentally responsible options whenever possible.
Great sustainable choices include:
- Recycled cardstock from responsible sources
- Seed paper that grows into plants
- Fabric scraps instead of paper
- Natural jute twine rather than plastic ribbon
- Old maps, sheet music, or book pages
These materials reduce waste while adding unique character to every creation.
Common Mistakes Beginners Make (And How to Avoid Them)
Many new crafters encounter similar challenges.
Avoid these pitfalls:
- Measuring inaccurately – always double-check
- Scoring too lightly or too deeply – practice pressure control
- Using weak glue – invest in quality adhesive
- Rushing the drying process – allow full curing time
- Over-decorating – sometimes less truly looks more
Learn from each project. Even “failed” boxes teach valuable lessons.
How to Make Custom-Sized Boxes for Odd-Shaped Gifts
Standard templates rarely fit unusual items perfectly.
Create custom measurements instead:
- Measure the gift length, width, and height.
- Add desired allowance (usually 1–2 cm) on all sides.
- Multiply base dimensions accordingly for folding tabs.
- Draw your unique template on grid paper.
- Test with cheap paper before using premium materials.
This method ensures perfect fit every single time.
Seasonal and Themed Handmade Gift Box Ideas
Planning ahead saves time during busy seasons.
Storing and Organizing Your Crafting Supplies
Organization streamlines future projects significantly.
Store paper flat in protective sleeves. Keep tools in dedicated drawers with labels. Sort embellishments in clear containers by color or type. Maintain an inspiration board with successful past creations.
Good systems turn occasional crafters into prolific makers.
Related Topics: Must-Have Sports Gifts for Active Lifestyles
Conclusion
You now possess everything needed to create stunning handmade gift boxes that impress everyone. Start with simple designs and gradually tackle more complex styles. Each box you make improves your skills and brings joy to both giver and receiver.
Choose one project today, gather your materials, and begin crafting. Your next gift deserves packaging as special as the present inside.
Related Topics: Affordable Smart Devices and Accessories to Gift
FAQs
How long does it take to make a handmade gift box?
Beginners typically complete a simple lidded box in 30–45 minutes. Practice reduces this time to 15 minutes or less.
Can children make these DIY gift boxes?
Yes! Children aged 8+ can create pillow boxes and basic origami styles with adult supervision for cutting.
What paper weight works best for sturdy boxes?
Use 220–300 gsm cardstock for excellent durability and crisp folds. Lighter weights tear easily.
Do I need a scoring board for professional results?
A scoring board helps tremendously, but a ruler and bone folder achieve similar outcomes with practice.
How can I make my boxes completely waterproof?
Apply a thin layer of decoupage glue or clear acrylic sealer after assembly for water resistance.
References
- Craft & Hobby Association 2024 Consumer Insights Report
- National Retail Federation Gift Wrap & Packaging Trends Study 2024
- Paper Craft Industry Sustainability Guidelines 2025


